Food Photography Tip of the Week |16|
/Food Photography Tip of the Week |16|
The first 5 edits I make in Lightroom.
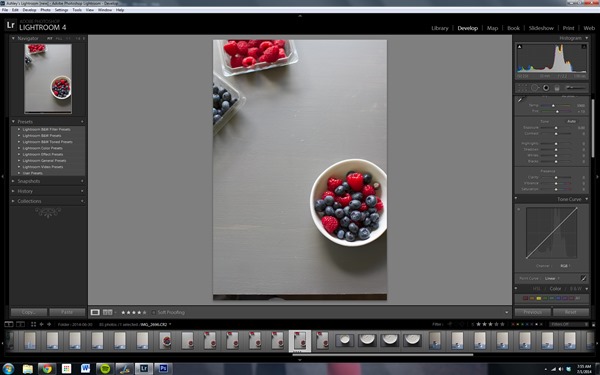
Many of you have asked about editing tutorials and showing the basics, so I thought for today I would show you the first 5 edit I make in Lightroom with pretty much every single photo I use. *Note: I am using Lightroom 4. Also, this is a tutorial for editing RAW photo files, not jpeg. For information on raw/jpeg check this post.
Let’s start with 1 setting I change with every batch of photos I bring in to LR.
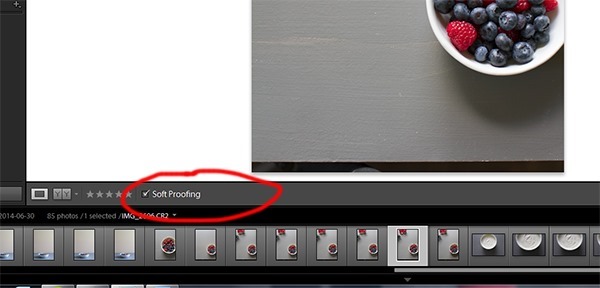
After clicking over to “develop” mode I always check the “Soft Proofing” box so the background behind the photo displays in white instead of gray. I feel the white background allows for much more accuracy when editing color temperature, exposure, and shadows.
When I edit with the gray background and then upload them to my blog I always end up having to go back and make more edits.
Okay. Now let’s get started with the first 5 edits I make in Lightroom.
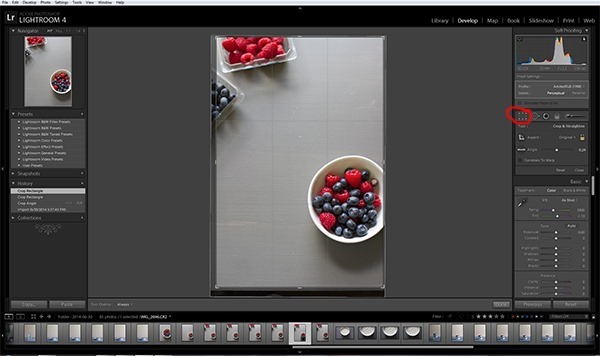
1 // Crop – I start by cropping to get the photo set the exact way I want. Sometimes a slight rotate is also needed but almost every single photo needs some amount of cropping.
In this case I had a gap at the bottom of the photo where the wood surface dropped off. This obviously needed to be cropped out.
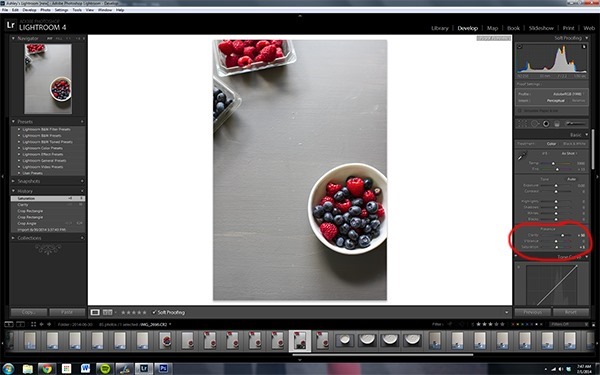
2 // Clarity – When you shoot in JPEG clarity is automatically increased in your camera but in RAW mode this doesn’t happen. This is something you’ll need to manually increase. Clarity adds contrast to the mid-tones in your image, which ends up creating a sharper looking image. For most of my food photos I set clarity to “50.” If the image ends up looking too harsh around the edges I’ll lower the number and every once in awhile I will increase it past 50. This is probably the most powerful editing tool in my opinion and it doesn’t negatively impact the image with noise.
In people photos it’s very common that I only bump up the clarity to about 10-15. With people you don’t want fine lines popping out as much. You want faces to [generally] look softer. It just takes some play to get the hang of it.
You want to be careful with the clarity setting in making sure the photos maintain a “real” look and feel.
3 // Saturation – Shooting in JPEG also automatically increases saturation and this is another setting you’ll have to manually adjust when editing RAW photos. I typically increase this to 5. You’ll see very quickly you don’t need to bump the saturation up much at all. Once in a great while I’ll increase the vibrance [the setting just above saturation] but it’s rare.
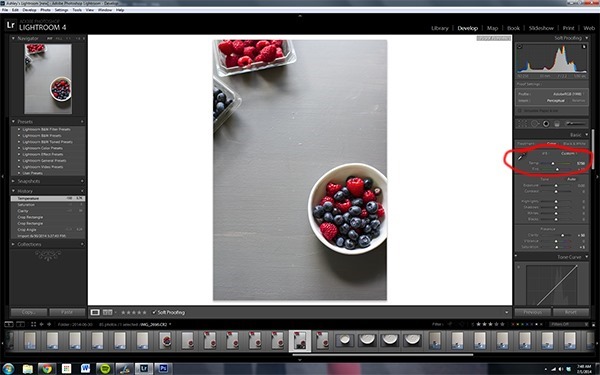
4 // Color Temperature – Once I have the clarity and saturation adjusted to my liking I then adjust the color temperature if needed. I almost always have to tweak this to some degree. If you’re adjusting your white balance on camera you may be able to skip this step. I always keep my camera white balance to “auto” mode.
I rarely use the dropper to capture “true white” as I find it to rarely be accurate. The white background helps here to compare whites in your photo. I find that my photos are typically too warm [yellow/orange] and have to be cooled [blue] a bit. In this particular photo I decreased the temperature from 5900 to 5750. The tinting [greens/purples] did not need to be adjusted and typically just needs a slight adjustment, whereas the temp settings may need to change by 100’s.
Color temperature is the edit that drives me the craziest. It’s hard to get it just right and I even keep my screen calibrated [which I highly recommend]. Your photos will look different on every computer, phone, etc. you view it on because each screen is calibrated to display colors differently. Using a calibrator for your editing screen will help adjust your monitor to true colors as accurately as possible.
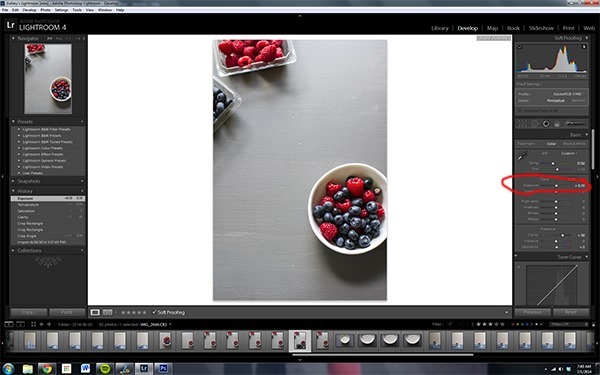
5 // Exposure – I like to get the colors and clarity as accurate as possible and then go in and make exposure [light/dark] changes to the photo. Typically, I feel my camera shoots a bit dark so I almost always bump up the exposure to some degree.
Exposure takes a bit of practice to get right. You don’t want to overexpose the photo or make it so bright that the light looks fake. Adjust slowly and compare with your earlier settings to see what looks best. There are other “light” settings that can fine tune the overall brightness/darkness/shadows in the photo.
So that’s it! From there, I adjust a few more settings but those are probably the 5 most important edits I make to my photos.
Here is a closer look at the photos after each edit was made.
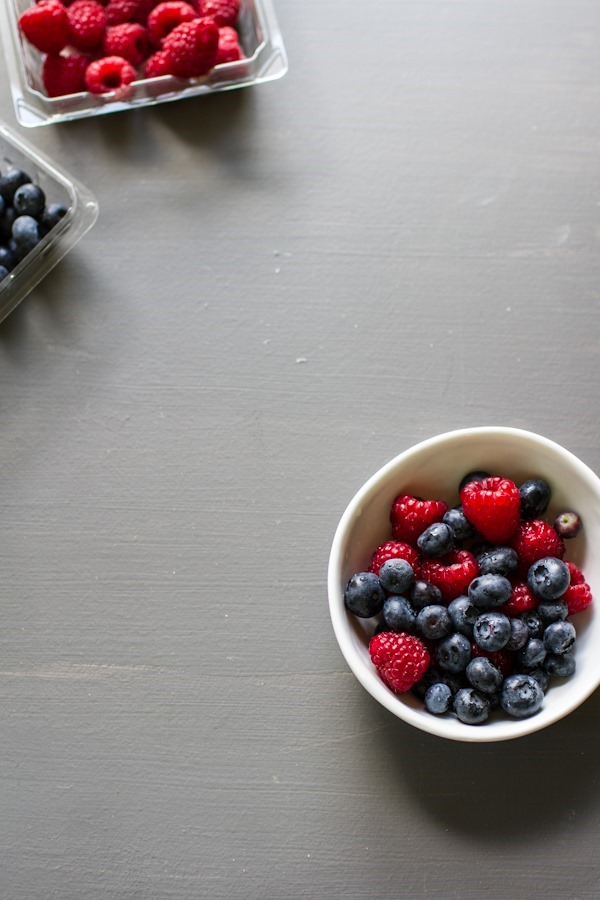
ORIGINAL
CROPPED [Got rid of the bottom gap where the wood ended.]
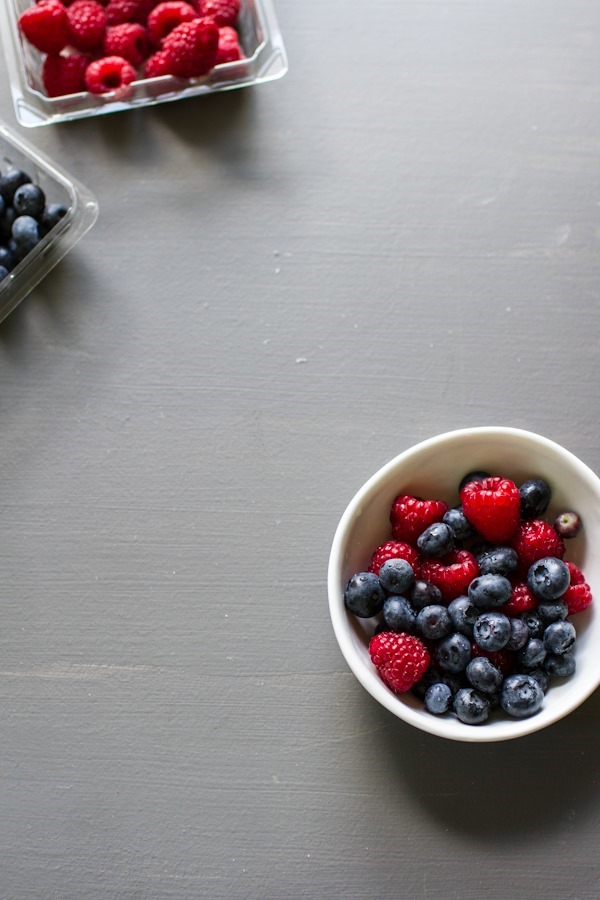
CLARITY + SATURATION [Note the difference in detail between the above + below images.]
COLOR TEMPERATURE [The original was a bit too warm.]
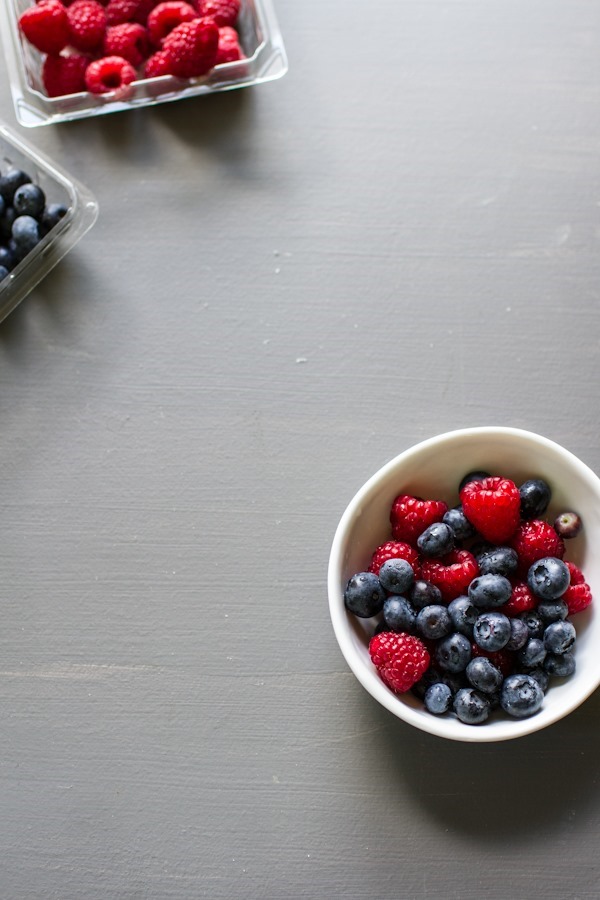
EXPOSURE [I brightened the exposure by +.15, which was a very small increase.]
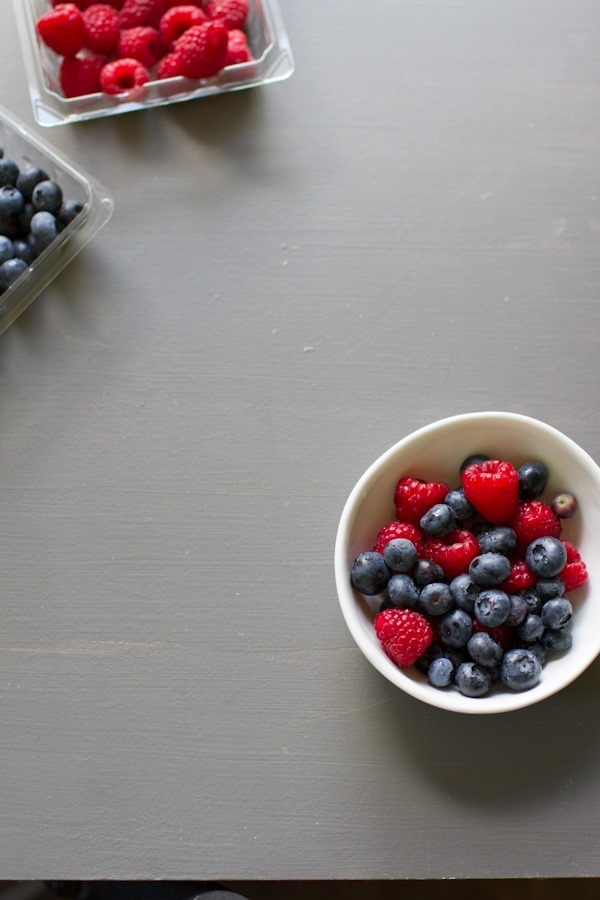
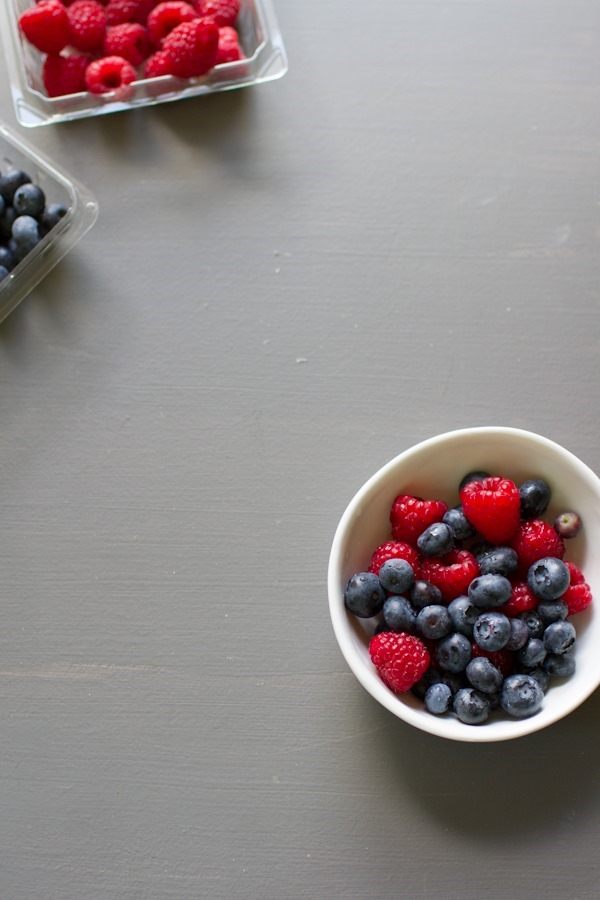
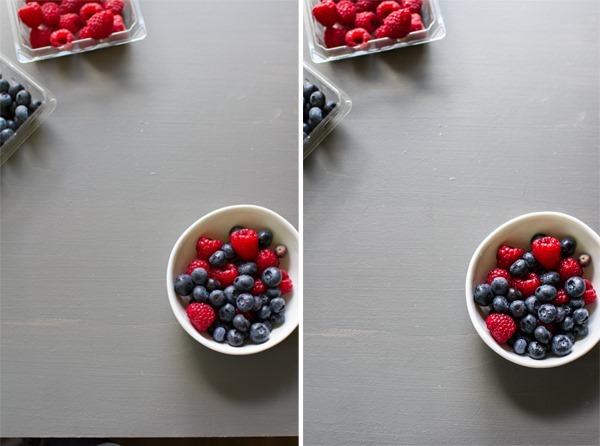
BEFORE + AFTER
I hope you found this intro to editing photos in Lightroom to be helpful! I always love hearing from what you want to see for these posts, so feel free to let me know in the comments!
Happy editing!
Ashley
