photography 101 {iso}
/Another photography post!!! Aren’t you so excited?? I am! Typically, I tell you I’m going to post about “xyz,” then post about “x,” and take a month to post about “y.” Not this time!
I may have told you we were going to talk about exposure in the next lesson, but I think we should discuss ISO first, since aperture, shutter speed and ISO all affect exposure.
It is affect right? Even after googling affect/effect, countless times, I still drive myself crazy on which one to use. Just me?
Let’s get this ISO party started.
ISO!!!! ISO is your camera’s [specifically the image sensor] sensitivity to light.
low ISO = 100 [less light sensitive] When using a low ISO, means the lighting conditions are bright. This would be a sunny day outside or if you have a window where light pours into your house. I don’t know if I ever shoot in ISO 100 indoors, simply because there is not enough light coming into the house. It’s rare that I”m on ISO 200. Typically my camera is set to ISO 400 when indoors, using a tripod.
high ISO = 1600 [more light sensitive] Using a high ISO means the lighting conditions are dark or poorly lit. As it gets darker out earlier, I have to crank up my ISO to make up for less light. You will tend to need a higher ISO in the evening, or in a poorly lit restaurant, etc.
Why not just crank up your ISO as high as it will go to let the most amount of light in???
Good question!
You must be careful when increasing your ISO. Noise is a grainy film on the photo that results from setting the ISO too high. Just because your camera’s ISO can be set to 1600, 3200 or higher, it doesn’t mean your camera is able to produce a quality image at that level. Cameras are so tricky.
The higher you set the ISO the noisier the photo
Shoot in the lowest ISO possible, for the sharpest photos.
This next series of photos was taken with aperture + shutter speed remaining constant. The only thing that changed was increasing the ISO with each photo to show you that with every increase, more light is allowed into the camera. Now, to create the right exposure for each of these photos, I would have also had to adjust the aperture + shutter speed, but that wasn’t the point of this lesson.
So, to recap so far: Increasing your ISO allows more light into the camera, allowing you to have a wider range of adjustments with your shutter speed + aperture.
tip! increase your ISO cautiously + use the lowest ISO possible for your desired aperture [unless, artistically, you want noise in the photo]
In this next photo example, I’ve adjusted the aperture + shutter speed, while increasing the ISO to properly expose the photo. These photos are meant to show you what happens to the photo quality as ISO increases.
As you can see, it degrades as the ISO is set higher.
Sorry there are no goofy diagrams to go along with the ISO lesson. It’s much easier to explain through photo examples! ISO isn’t quite as difficult to explain or understand as shutter speed + aperture, but it’s still extremely important! If you’ve had your camera stuck on ISO 800 and have been wondering why your photos aren’t so crisp, or, if you’ve had your camera set at ISO 100, wondering why you can’t take any photos indoors, hopefully this lesson helped!
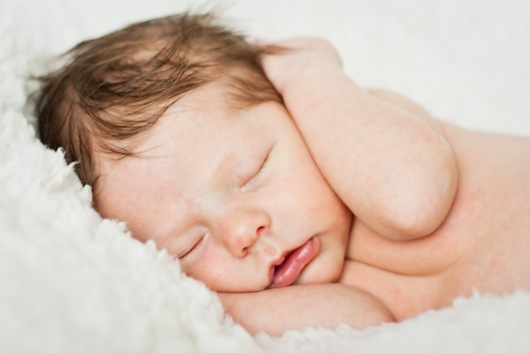
And now I just had to share a little sneak peak from my first official newborn photo shoot.
Meet 10 day old Henry.
Off to happily edit this photo set!
Ashley


