photography 101: you’ve gotta start somewhere
/When I picked up my husband’s dSLR camera for the first time, I had no idea what was going to come of it. I’ve always been interested in photography but felt like it was one of those things I just wouldn’t be able to do. It seemed way over my head. I never thought about owning a fancy camera at any point in my life. Even when my husband bought ours, I didn’t use it for the first year.
too many settings. too many buttons. too difficult.
About three years ago, my interest in food started to peak. I’ve always loved food and the kitchen, but like photography, never really thought I would “do” anything with it. During grad school, for Architecture, I realized my love for documentation. Whether it be with photographs, graphic design, or written documentation, I loved it all...
My thesis, briefly explained here, was based on commonalities between food + architecture. My graphic representation + documentation was a large part of the process. This is around the time I started taking food photos, with my trusty little point n’ shoot. I had no clue what I was doing. Photography was new to me.
A little over a year after turning in my thesis project and graduating from grad school, I picked up the fancy camera. It was on our first wedding anniversary weekend. We rented a small house in the mountains of NC. The only plans were to eat + relax.
I’m not sure what made me pick up the camera that weekend. Maybe because I was so excited with the weekend menu I planned. Maybe because I brought pretty white plates and bowls to serve it on. Whatever the reason, all I know is that it happened.
Most of the recipes for the weekend came straight from 101 Cookbooks, the only food blog I knew of at the time [June 2009].
Here were my very first attempts at using the dSLR camera. I had it set to Av mode, with not a clue what that meant or what I was doing.
ISO? What the heck is that? Depth of field??? I didn’t even know that term existed.
RAW, manual, f-stop, ahhhhhhhhhh!
After a 2 month hiatus, I picked the camera up again. I had done little to no reading on photography, and still had no idea what any of the settings were supposed to be used for.
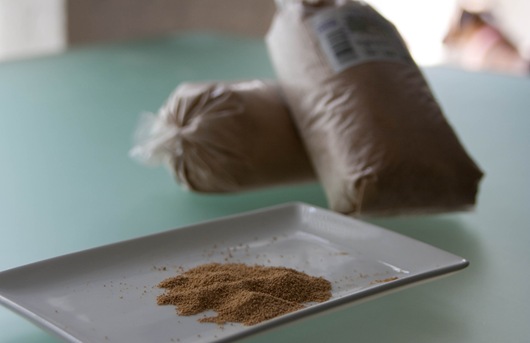
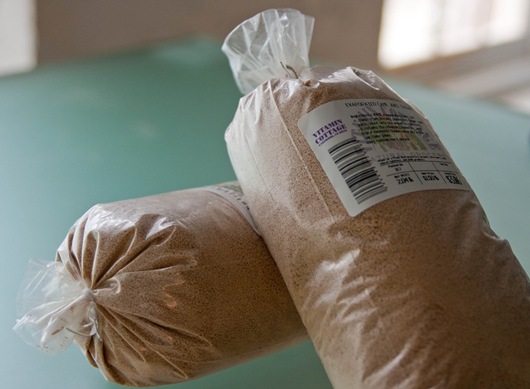
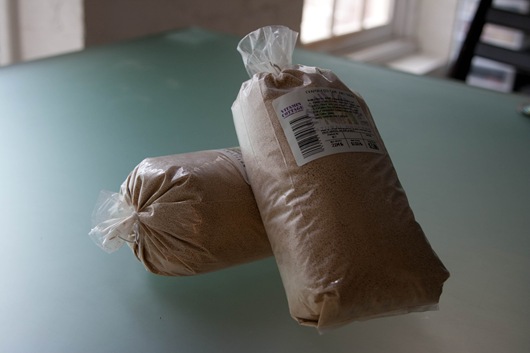
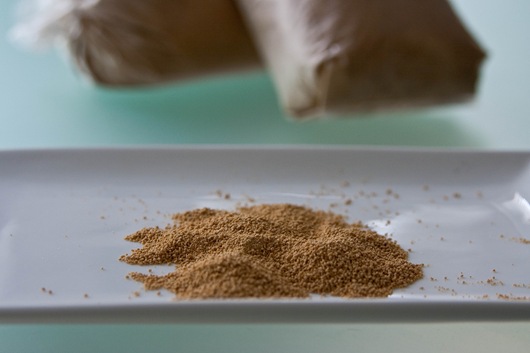
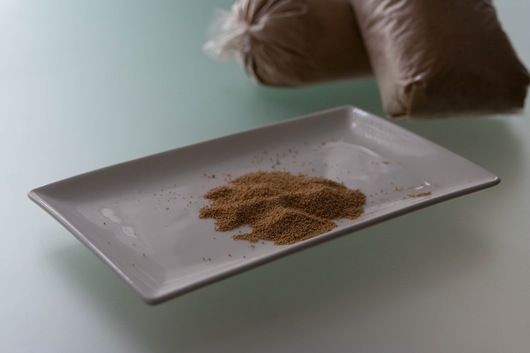
Trying to photograph bags of sucanat.
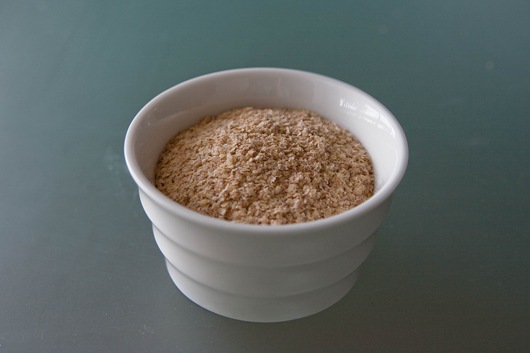
Why is this one darker? I had no idea.
Even darker!?
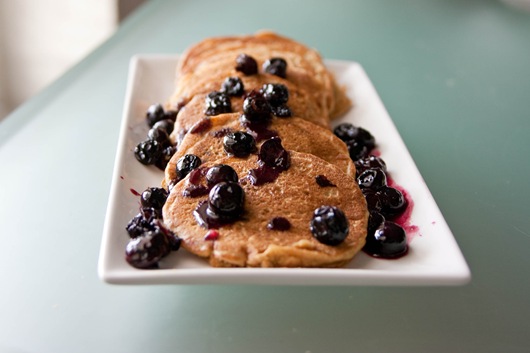
My 3rd attempt with the camera….wheat germ pancakes!
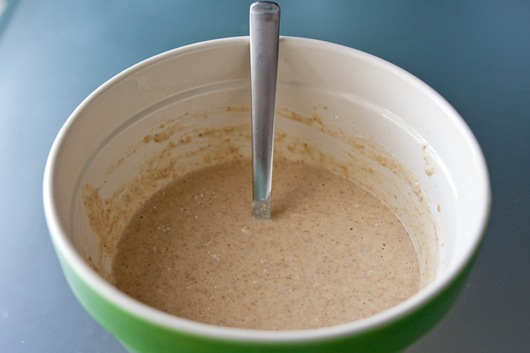
Not everything can make an interesting photo..what am I doing here??
By this point, I was hooked.
With still no real clue what I was doing.
We moved to Colorado a few weeks after I took these photos. I didn’t have a job lined up when we moved to CO, so I figured I had some extra time on my hands to really try and learn how to use this camera. For the first month or so after the move, I was blogging on my old ota.bars website and then changed things over to The Edible Perspective.
For many months, I still had no comprehension of how the camera actually worked or what the settings meant. Everything was trial and error. Finally, I decided it might be a good idea to actually learn the camera.
Good idea indeed. One that has taken a full year to really understand the definitions below. While it still feels weird to think of myself as a photographer, I’m loving this new passion of mine. I enjoy picking apart my photos, refining my technique, and teaching others.
It’s a learning process. One that doesn’t happen overnight.
[Terms to know]
Read these and then read them again. Try talking through them and playing with your camera at the same time. They are completely confusing at first, but will slowly start to make sense. Over the next few weeks, I’ll be sharing more detailed information about a lot of these definitions. This will include more explanations, dorky diagrams, and examples using my photos.
Please remember, I am not an expert, or even close. I’m self taught and still learning every.single.day.
Stay tuned!
Image Sensor - A chip that captures and records visual data. This is the digital equivalent to film.
CCD Chip - Typically, this is the type of image sensor/recording medium, used in dSLR cameras.
JPEG - A file format that compresses and saves the photographic data, as soon as the photo is taken.
RAW - A file format in dSLR’s, that saves all image information, captured onto the image sensor. This file format produces the highest quality images.
Minimum Focus Distance - Varied with each lens, this is the minimum distance you must be standing from your subject, for the lens to properly focus.
Focal Length - Distance from the center of the lens to the image sensor plane. This is measured in “mm” and determines how much of the subject/scene that the lens can capture.
Resolution - The amount of data/pixels recorded in an image.
Exposure - The brightness or darkness level of the photo, caused by the amount of light captured on the photographic medium. In other words, how much light you let into the camera.
Shutter Speed - The length of time, measured in seconds, that the shutter is open to capture and record the photographic data. 1”= 1 second : 1/50 = 1/50th of a second : The smaller the number the faster the shutter speed. Shutter speed affects exposure and the way movement appears in a photo.
Aperture - Measured in f-stops, aperture controls the size of the opening in your lens. The size of the opening controls the amount of light that passes through the lens to the image sensor.
F-Stop - Measurement of how much light passes through a lens, determined by the how open or closed the aperture is. This is used to regulate exposure and control depth of field. The wider the aperture opening, the more light passes through, but the smaller the f-stop number.
Depth of Field - The range of sharpness in front of and behind the subject. This is determined by aperture [f-stop], focal length, and focus distance.
Stop down the lens - A term referring to decreasing the size of the aperture [lens opening].
ie: increasing the f-stop # = Stopping down the f-stop -> # gets larger -> hole gets smaller -> less light comes in -> depth of field increases
Open up the lens - A term referring to increasing the size of the aperture [lens opening].
ie: decreasing f-stop # = Opening the f-stop -> # gets smaller -> hole gets larger -> more light comes in -> depth of field decreases
ISO - The camera’s sensitivity to light.
Noise - This is the unwanted appearance of a dusty or grainy look, due to increasing the ISO too high [typically]. Every camera has different ISO allowances where noise will be visible. For instance the ISO on my camera ranges - 100, 200, 400, 800, 1600. There is a slight, but noticeable degradation of quality [noise] when my camera is set to 800 ISO and very noticeable noise when set at 1600.


