
Oat + Nut Chewy Granola Bars (date sweetened!)
/Did I ever tell you about the time I started a granola bar business? Actually, I know I told you, but it was eons ago. If you've been reading from eons ago, you may remember this. If you lived in Charlotte, NC maybe you even sampled a bar at the farmer's market?

I started the business because I was tired of store bought granola bars and their mile-long ingredient lists. I wanted to create an oat-based bar that was chewy, full of flavor, and short on ingredients. It took some time to develop the recipe, and at first, I had no intention of turning it into a business.
It's kind of a blur as to how that all even happened. I remember some tears, numerous trips to the business license office, and 40lb bags of rolled oats. I sold the bars at a farmer's market in Charlotte and a few local convenient stores the summer before moving to Colorado. I didn't continue the business after we moved because it just wasn't financially feasiable at the time, with having to rent commercial kitchen space, etc.
It was a (mostly) fun adventure while it lasted.

Anyway!
I've always been a huge fan of oat-based granola bars but there aren't actually too many on the market. Today I'm sharing my latest recipe for chewy granola bars that are 100% date sweetened, super chewy, but still packed with texture!

You may be thinking, is this just another Larabar knock-off recipe? And my answer is no! They're filled to the brim with oats, nuts, coconut, seeds, and more. You really don't even realize they're a date based bar! The dates bind the bars together and give them their sweet, chewy texture, but these bars are all about the mix-ins.
The dates are actually turned into a paste and then combined with coconut oil and a bit of nut butter to further help bind the bars together.

I wouldn't change around the ratios much, as these amounts are what worked well with the specified amount of dates that were used. If you use more mix-ins than specified the bars will not hold together. You'll end up with more of a granola-type mixture, which wouldn't necessarily be a bad thing and would at least be highly edible! Here are my (un-tested) thoughts on subbing some of the ingredients.
Substitution Tips:
- Dates are mandatory in this recipe. Specifically, medjool dates will work best. (Costco even sells these in bulk for a great price!)
- If you don't have hemp seeds you could add well chopped sunflower seeds instead or even chia seeds.
- It's important that the nuts are well chopped before adding to the food processor, or the grinding will be too uneven (you'll get flour too quickly while still having some un-chopped nuts).
- If you don't want to add the chocolate, you can simply leave it out and replace with 3-4 tablespoons of nuts (be sure to chop and process them as specified below).
- Instead of coconut, feel free to sub another 1/4 cup of hemp seeds and 2-3 tablespoons of chia seeds instead.
There's a little play with this recipe, but I found the mixture below to work best. When I left the ingredients larger they were more difficult to chop and crumbled more.


Oat + Nut Chewy Granola Bars (date sweetened!)
gluten-free, vegan // yields 16 bars
- 1 3/4 cup gluten-free rolled oats
- 1 cup well-chopped raw nuts (a mixture works well - almonds/walnuts/pecans)
- 12-15 medjool dates*, pitted
- 3 tablespoons softened unrefined coconut oil
- 1 tablespoon thick nut butter (I used cashew butter)
- 1 teaspoon pure vanilla extract
- 1/2 cup finely shredded unsweetened coconut
- 1/3 cup finely chopped dark chocolate
- 1/4 cup hemp seeds
- 1 teaspoon cinnamon
- 1/2 teaspoon fine grain sea salt
Preheat your oven to 300° F.
Place oats in your food processor and process for 5-10 seconds until ground into a course meal. You still want some whole oats to remain (refer photo 2). Toast on a baking sheet for about 15 minutes, stirring once, or until light golden brown and fragrant.
Place chopped nuts in your food processor and turn on until finely chopped. You want about 1/2 course meal and 1/2 small bits. Place on a baking sheet and toast for 10-15 minutes, stirring once, until lightly toasted.
Remove both and let cool for at least 10 minutes.
Increase oven to 350° F.
Line a 9x9 cake pan with parchment paper.
While toasting the oats and nuts, wipe out your food processor. Place the pitted dates in your processor and turn on until a smooth paste forms. This takes about 30 seconds - 1 minute. They'll go from chopped, to a large ball, and finally smooth out into a smooth paste. You'll end up with 1/2 heaping cup. Scrape sides as needed (refer to photo 4). *edited to add - 4/20/15: You may want to start off with 15 pitted dates to make sure you have enough for binding. Date size and plumpness can vary, so it will be best to have a little extra. After it turns to a paste scoop out about 2 1/2 tablespoons of the paste and set aside. Mix into the oat mixture at the end (before pressing into the pan) if it's is too crumbly and won't hold together when compacted. If you don't need the extra paste, simply store it in a sealed container in the fridge and use as a topping or add to smoothies. Mine held together great with 12 dates.
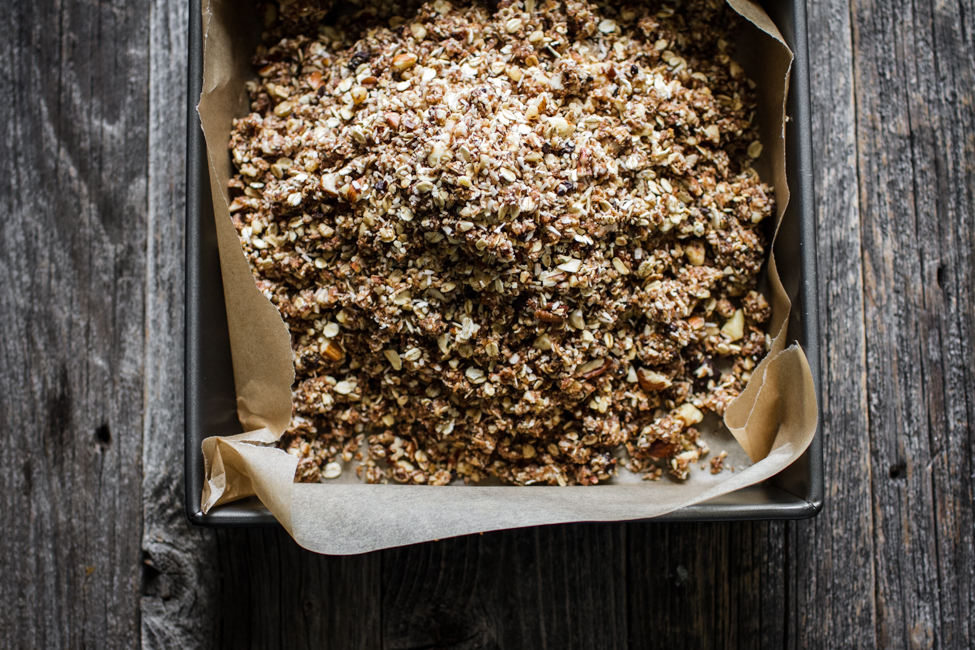
Transfer the date paste to a large mixing bowl. Stir/mash in the coconut oil, nut butter, and vanilla until well combined. Add the cooled oats, nuts, coconut, chocolate, hemp, cinnamon, and salt. Mix together with your hands until fully incorporated. The mixture will look crumbly but should hold together when squeezed. If it feels very soft and gooey add 1/4 cup more oats.
Empty mixture into your lined pan and spread evenly to the edges and corners. Place a piece of parchment over top and firmly press down with your palms until well-compacted and fully smooth from edge to edge. Be sure the corners well packed. It helps to get above the pan and put your weight into it. Press as firmly as you can.
Bake for 8 minutes.
Remove and let cool for 1 hour. Place the pan in the fridge and let chill for at least 2 hours. Carefully lift one edge of parchment and slide the bars and parchment from the pan to a cutting board (support the bottom with your hand or flat spatula). Chop into bars with a long, sharp knife. Keep tightly covered in the fridge for 1-2 weeks.
Notes:
- Make sure your dates are plump and fresh (they should be very tacky/chewy). If your dates are on the small side you may need a few extra.
- The edges/corners may crumble a bit when chopping but if your nuts and oats were well ground they should hold together well.
- Bars can be stacked in an airtight container or individually wrapped and kept in the fridge. They'll hold together in cool/moderate temps but soften once warm.

Mmmmmm, Friday! Enjoy it!
Ashley
psst! Follow my weekend adventures over on Instagram while I'm in California for a small blogger retreat at the (amazing!) Terranea Resort!


