Breakfast Friday | Giant Buckwheat Pancake

It's Friday!

And I've got breakfast! 

In the form of a giant buckwheat pancake! 

mashing banana for Giant Buckwheat Pancake breakfast recipe | edibleperspective.com
simple recipe for a Giant Buckwheat Pancake for any day of the week | edibleperspective.com
an easy gluten-free Giant Buckwheat Pancake recipe | edibleperspective.com
berries + sunbutter toppings for the Giant Buckwheat Pancake | edibleperspective.com
Giant Buckwheat Pancake weekday recipe | edibleperspective.com
Giant Buckwheat Pancake recipe with fruit toppings + sunbutter | edibleperspective.com

This giant buckwheat pancake is a simple and super healthy go-to breakfast for my weekday mornings. It takes about 3 minutes to mix together and 6 minutes to cook in the pan. While it cooks, you can prep a few topping ingredients or maybe flat-iron your hair.

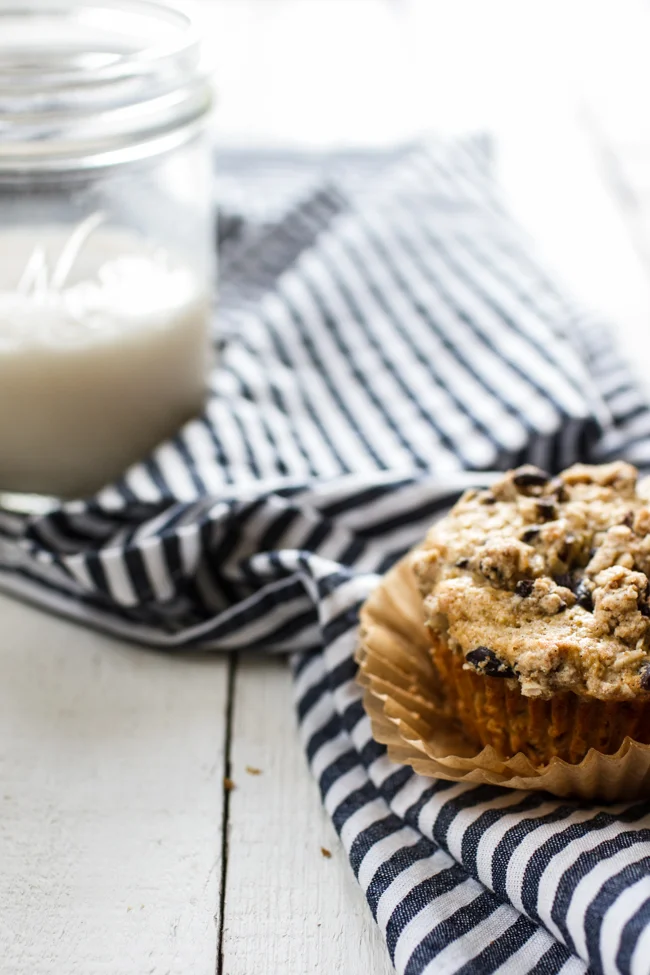
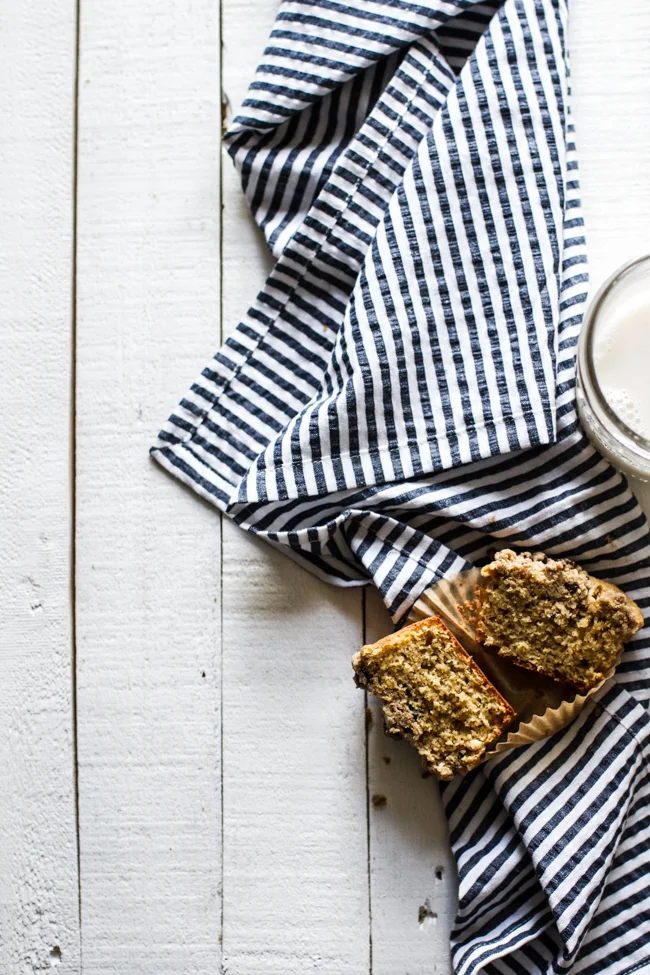
It's thick (but fluffy!) + hearty and will definitely fuel you through til' lunch. Plus, it's chock-full of protein, fiber, and healthy fats. I have a huge morning appetite and this is one of the only breakfasts that can keep me satiated for over 5 hours. Top this giant cake with nut or seed butter + fresh berries and you're all set. Just don't forget the coffee.

You may want to start with 1 teaspoon of cinnamon and see what you think (cinnamon varieties vary in intensity). I like to add about 2 1/2 teaspoons. I'm sort of cinnamon obsessed, though. You can always add more the next time, and there will definitely be a next time with this recipe!

Enjoy!

a hearty Giant Buckwheat Pancake topped with berries + sunbutter | edibleperspective.com

Print Recipe!

Giant Buckwheat Pancake

gluten-free // yields 1 large serving

  • 1-2 teaspoons ghee/coconut oil
  • 1/2 medium banana
  • 1 large egg
  • 3 1/2 tablespoons buckwheat flour
  • 2 tablespoons sorghum flour
  • 2 tablespoons almond meal
  • 1-3 teaspoons cinnamon
  • 1/8 teaspoon baking powder
  • 1/4 cup unsweetened almond milk (2%, whole milk, soy, hemp, etc.)

Heat a large pan (at least 10-inches) or skillet over medium heat with 1-2 teaspoons ghee or coconut oil.

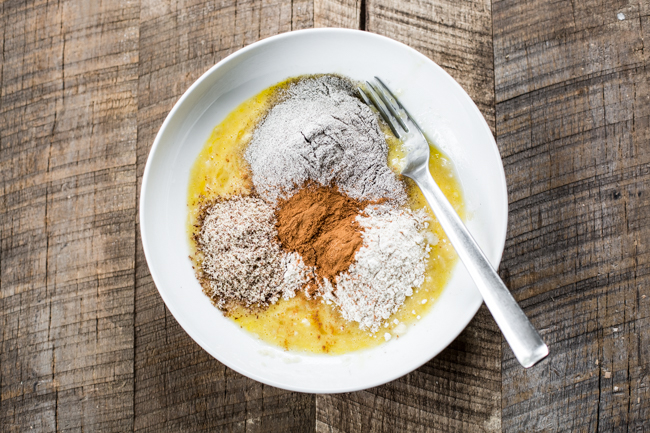
While heating, thoroughly mash the banana in a small mixing bowl. Add the egg and whisk into the banana (a fork is fine). Add the flours, cinnamon, baking powder, and milk. Mix together until just combined. The batter should be thick but pourable, not runny.

Pour batter into the pan and spread to about 8-9 inches. (Leave room around the pancake so you can slide a spatula underneath.) Let cook for about 4-5 minutes until the edges are set and you can slide a stiff metal spatula all the way around the pancake to help release. Slide the spatula about 1/2-way under the pancake and quickly flip over. If your pancake feels floppy as you slide the spatula underneath, let it cook for another minute. Once flipped, cook for another 1-2 minutes.

Serve hot and top as desired.


Notes:

  • Feel free to make this in advance, let it cool, then refrigerate in an airtight container for up to 4 days. They can also be frozen once fully cooled.
  • Cashew meal, hazelnut meal, pistachio meal, or sunflower seed meal should be suitable subs for the almond meal. Sift before using.
  • Feel free to use freshly ground raw buckwheat flour (from raw groats) if desired. I advise against using flour made from toasted/Kasha buckwheat groats, as the flavor is very intense. For this recipe I used Bob's Red Mill buckwheat flour.
Giant Buckwheat Pancake recipe for breakfast | edibleperspective.com

Now let's do this weekend thang.

Ashley

Vanilla Muffins

Friday! Friday!

We're starting this Friday off right with vanilla muffins. Vanilla muffins that are so full of goodness I can hardly stand it. I would definitely call myself vanilla obsessed. It's one of my all-time favorite kitchen ingredients and plain as it may be, my favorite ice cream flavor. 

This post is sponsored by Rodelle. All products have been tested and approved by my taste buds. 

Vanilla Bean Crumb Muffins | Edible Perspective

A few months ago, I had the chance to meet some of the staff at Rodelle to learn everything there is to know about vanilla. Well, maybe not everything but a whole heck of a lot. I've been a long time fan of Rodelle's vanilla products, but I'm thrilled they reached out so I could learn even more. 

What stood out most to me was how they frequently visit the farms in Africa for more than just quality control of their product. While quality is very important, they focus much of their time and effort in making sure there are safe and sustainable working environments for the farmers. They also help support the communities as a whole by providing things like clean drinking water, safe cooking stoves, and with the microfinance program. Rodelle did not ask me to tell you any of this, but I was so impressed by their efforts and felt compelled to share. 

Vanilla Bean Crumb Muffins | Edible Perspective

While the vanilla beans I received from Rodelle were the most fragrant, sticky, and plump I've ever encountered (honestly), I wanted to see if steeping them in hot water would make it easier to scrape the seeds and result in a larger yield. This totally worked! No vanilla beans were left behind! It was nice to feel like no beans were going to waste. I'm sure it's especially helpful if your beans have dried out a bit.

Recently, I was also able to tour the factory in Ft. Collins to take photos for a freelance project. I cannot even describe the intensity of the vanilla aroma that takes over the entire facility. I obviously loved it.

Vanilla Bean Crumb Muffins | Edible Perspective

Have you ever made vanilla sugar before? I used muscovado sugar (it tastes like caramel sugar!) and followed Alton's simple instructions. As if my vanilla obsession wasn't bad enough.

I used the vanilla muscovado sugar as an alternative to the vanilla crumb topping for a few of the muffins. So good either way or with some of both! 

Vanilla Bean Crumb Muffins | Edible Perspective

I also learned something about crumb topping in my trials.  

If you melt the coconut oil (or butter in some crumb topping recipes) you'll achieve a chunkier topping like you see below. However, if you use softened coconut oil (or butter) it will result in more of a crust topping that spreads over the entire muffin. It seems like the opposite should happen as the dough with the softened coconut oil is much crumblier before baking. But for whatever sciency reason, the melted oil gives you that real-deal "crumb" look.

Moving on....

Vanilla Bean Crumb Muffins | Edible Perspective

And because I'm slightly strange and don't like crunchy things in my muffin but they're okay on top of my muffin, I've added cacao nibs to the crumb topping.

It provides a delicate crunch and slightly bitter, chocolaty bite to contrast all of that sweet vanilla flavor.

Vanilla Bean Crumb Muffins | Edible Perspective

Print Recipe!

Vanilla Muffins with Crumb Topping 

heavily adapted from my citrus poppy seed muffins (guest post on 80-twenty)
gluten-free // yields: 12 standard muffins

for the crumb toppings:

  • 3 tablespoons melted coconut oil
  • 1 teaspoon pure vanilla extract
  • 1/2 cup + 2 tablespoons gluten-free oat flour
  • 1/4 cup gluten-free rolled oats
  • 3 tablespoons muscovado sugar (or coconut sugar/sucanat)
  • pinch of salt
  • 3-4 tablespoons cacao bean nibs

for the muffins:

  • 1 cup gluten-free oat flour
  • 3/4 cup almond flour
  • 6 tablespoons muscovado sugar (or coconut sugar/sucanat)
  • 1/4 cup sorghum flour
  • 2 teaspoons baking powder
  • 1/2 teaspoon salt
  • 1/4 cup milk
  • 1/4 teaspoon packed vanilla beans, scraped from appx. 2 plump pods
  • 3 large eggs
  • 1/4 cup applesauce
  • 1 tablespoon pure vanilla extract
  • 1/4 cup melted unrefined coconut oil (lightly cooled)

Preheat oven to 350° F. 

Pour the coconut oil for the crumb topping in a small mixing bowl. Add the vanilla extract and stir. Then add the oat flour, oats, sugar, and salt. Stir/mash with a fork until a cohesive dough forms, similar in consistency to a soft cookie dough. Mix in the cacao nibs. Set aside. 

Line a muffin tin with 12 liners.

In a large bowl stir the oat flour, almond flour, sugar, sorghum flour, baking powder, and salt until well combined.

In another bowl, briskly whisk the milk and vanilla beans together until the beans are evenly distributed. Add in the eggs, applesauce, and vanilla extract and whisk until well combined. Whisk in the oil and then immediately pour into the dry bowl. Stir until you no longer see dry flour.

Scoop into the muffin liners, filling about 3/4 of the way to the top. Break up the crumble topping and sprinkle over top of the muffins. Quickly place in the oven and bake for 17-22 minutes, until the edges are light golden brown and a toothpick comes out nearly clean. You want the toothpick slightly sticky (but not gooey). Let cool for 10 minutes in the pan and then transfer to a cooling rack. Allow to cool for at least more 20 minutes before serving.


Notes:

  • I used Rodelle's Pure Madagascar Vanilla Extract and Madagascar Vanilla Beans in this recipe.
  • To get the most from your vanilla beans, steep them in hot water for about 10 minutes. Then, blot dry, trim the ends with a pairing knife, slice down the center (through the top layer only), and scrape the entire inside of the pod with the dull side of your knife.
  • I do not recommend subbing any flours. However, for a stickier/denser muffin, use 1 cup oat flour and 1 cup almond flour and leave the sorghum flour out. The sorghum helps lend a fluffier texture.
  • If you don't have vanilla beans on hand: sub 2 tablespoons vanilla paste, or 2 tablespoons pure vanilla bean extract
  • In the crumb topping, feel free to add a small pinch of vanilla beans if desired. Or, instead of 1 teaspoon pure vanilla extract, sub 1 teaspoon vanilla paste.
  • If you want more of a crust on top of the muffin rather than a crumb topping, use 3 tablespoons softened unrefined coconut oil and reduce the oat flour to 1/2 cup. The dough will be crumbly.
Vanilla Bean Crumb Muffins | Edible Perspective

Happy weekending!

Ashley

This post was sponsored by Rodelle. Opinions are always my own and products are thoroughly tested before sharing. Thank you for supporting the occasional sponsored post that helps fund all the deliciousness you find here!