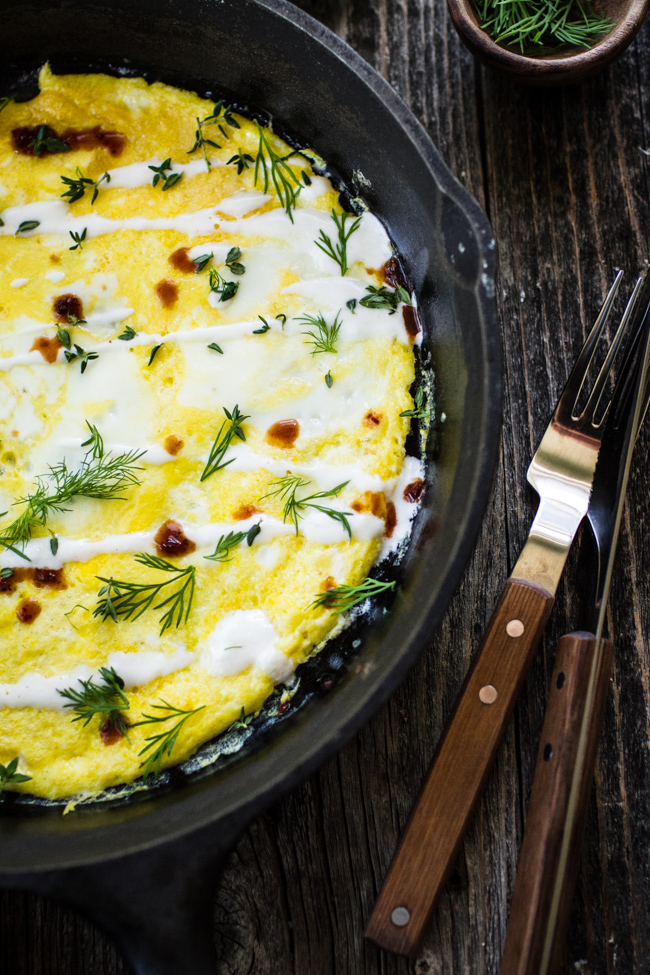
Flat Omelet with Yogurt, Hot Sauce, and Herbs
/Brunch. Yogurt. Cookbooks. A few of my favorite things.
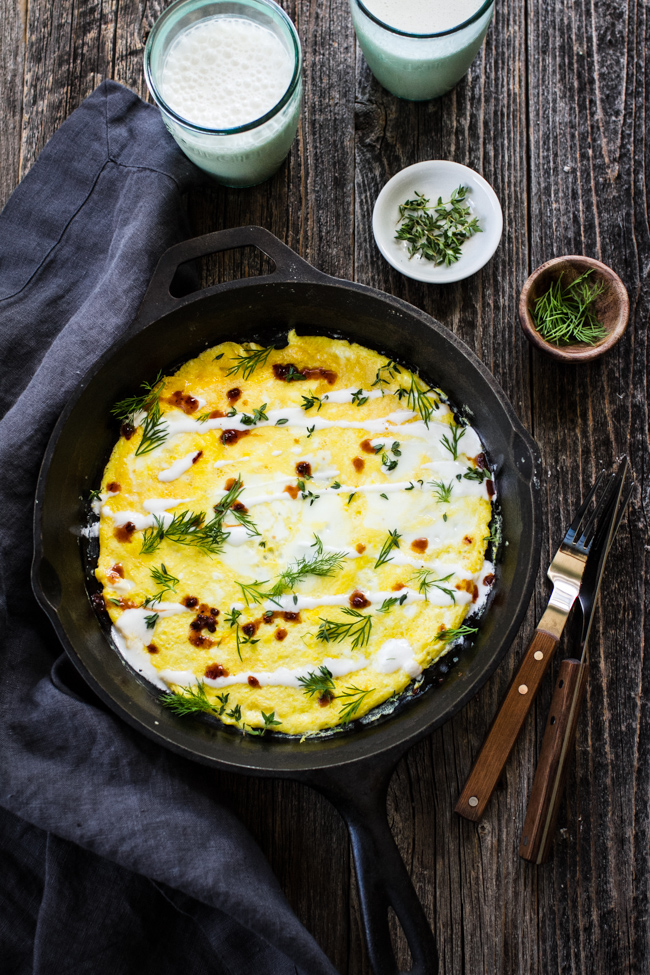
This weekend I whipped up a sweet + savory brunch spread for two. It started with the flat omelet you see below that was topped with yogurt, hot sauce, and herbs. The combination of toppings hit my taste buds in all the right places. I never would have thought to drizzle yogurt over eggs but the tangy flavor it added was superb. Why don't I always top eggs with fresh herbs? Goodness. So fab.
This recipe is straight from my friend Cheryl's new cookbook, Yogurt Culture. It's a thing of beauty, I tell ya. If you're not familiar with Cheryl or her blog it's a major place of inspiration for me. Her writing is flawless and captivating, her photography is striking, and it's clear she knows what she's doing in the kitchen.
It's not hard to guess this book is all about yogurt. Cheryl brings new life to this common, household ingredient and explores its use in different cultures around the globe. The recipes have a worldly feel to them, with a fabulous mix of sweet, savory, snack-sized, entrees, breakfasts, desserts, and more. I was blown away by the lineup of incredibly flavorful and fresh recipes, the breathtaking photos (by Ellen Silverman), and of course, Cheryl's writing.

She offers a few different homemade yogurt recipes in the book, along common troubleshooting to help you along the way. From there, all of the recipes incorporate yogurt in some way. Cheryl uses many different types of yogurt from plain whole milk, to Greek, to labneh. While the entire book isn't vegetarian, it offers a wide variety of vegetarian options and has inspired me to recreate a few dishes of the dishes with a veggie spin. This cookbook really pushes you to get creative with in the kitchen with yogurt instead of simply adding it to a smoothie or eating it from a single-serving cup.
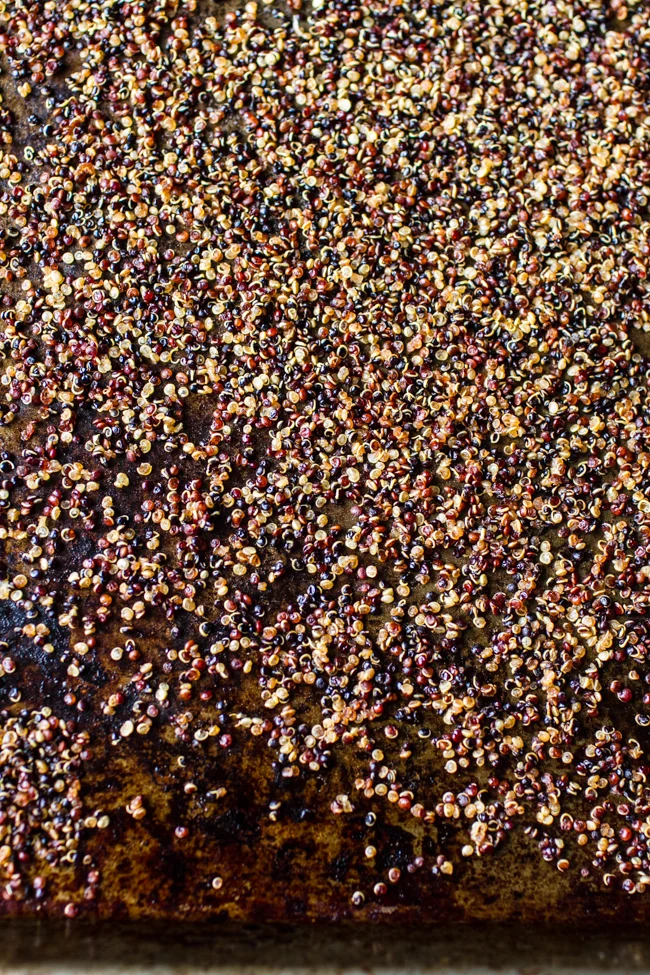
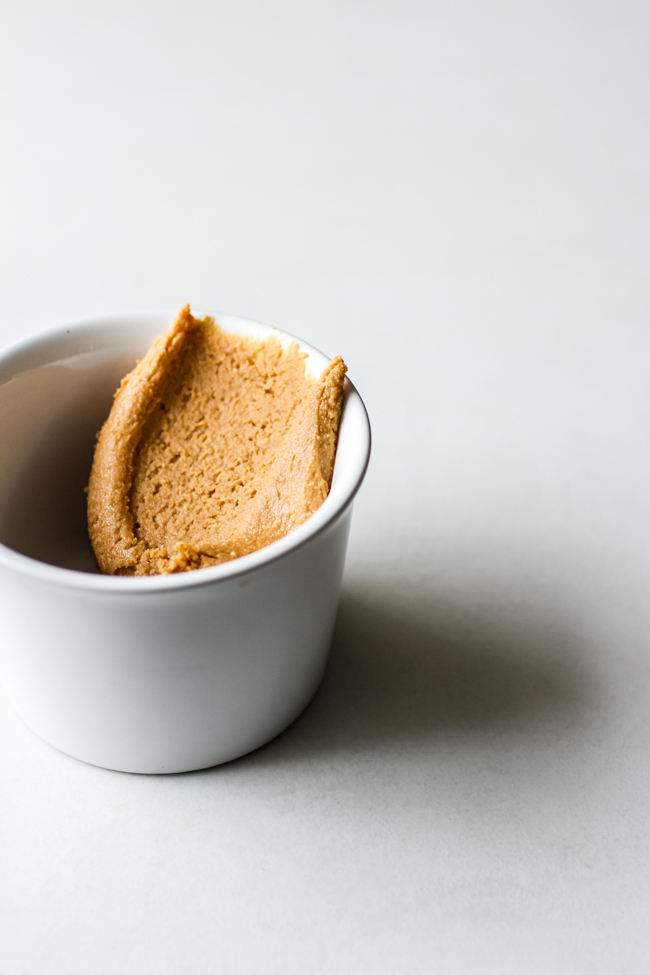
To go along with our flat omelet I also made Cheryl's Burnt Sugar-Apricot Halves and Ginger Vanilla Lassi.

Both recipes were completely new to me and the perfect compliment to the savory flat omelet. A lassi is simply yogurt that has been blended with water and spices. It's foamy on top and much thinner than a smoothie. This had a gingery kick that I loved!
I have to admit this was the first time I've eaten an apricot that wasn't of the dried variety (oops. wait. I tried them last year! Total brain lapse.). I obviously loved them. The burnt ginger sugar coating was outstanding, especially when topped on whole-milk Greek yogurt. This took your standard bowl of fruit and yogurt to an entirely new level.

Cheryl's cookbook is going to be filled with smudge marks, drips, and stains very soon. It's a cookbook that will offer constant inspiration in the kitchen. I know this because it already has.
Congrats, Cheryl! You rule.
reprinted with permission from Houghton Mifflin Harcourt, recipe from Yogurt Culture by, Cheryl Sternman Rule
Flat Omelet with Yogurt, Hot Sauce, and Herbs
serves: 2 to 4 // gluten-free
- 1/4 cup plain low-fat or whole-milk yogurt
- 1 to 2 tablespoons milk or water
- 6 large eggs
- kosher salt and freshly ground pepper
- 1 tablespoon unsalted butter
- hot sauce
- tender minced fresh herbs, such as parsley, chives, dill, tarragon, or chervil
Prep: In a medium bowl, whisk the yogurt with 1 tablespoon milk or water. Lift the whisk; it should drip easily. If it clings, whisk in a second tablespoon of liquid. Set aside at room temperature for 10 minutes to lose its chill.
Make the omelet: Whisk the eggs with a generous pinch each of salt and pepper. Heat the butter in a medium nonstick skillet (9- to 10-inch) over medium-high heat until foamy and then brush it over the surface and up the sides of the skillet with a silicone pastry brush. Add the eggs. With your nondominant hand, shake the skillet back and forth. With your dominant hand, sweep the sides of the skillet with a silicone spatula, allowing the liquid eggs to flow underneath and set up. Continue shaking and sweeping until the bottom is set, 3 to 5 minutes. Protecting your hands, place a large plate over the skillet and invert the omelet. Slide it back into the skillet cooked side up. Cook until the bottom is set, 30 seconds to 1 minute longer.
Serve: Drizzle the omelet with yogurt, waving the whisk back and forth over the eggs to make stripes. Shake over some hot sauce, sprinkle with herbs, and serve straight from the skillet.
Ashley's notes: I don't own a non-stick skillet, so instead of trying to invert the omelet from a cast iron pan, I simply finished the omelet under the broiler. Pre-heat your oven to broil with a rack about 5-inches from the heating element. Cook according to Cheryl's directions. When the bottom is set and the top is still a bit fluid, place under the broiler for just a minute or two, until just barely set. Serve as described.

Monday's are never easy, but dreaming about brunch makes them just a tad bit easier. Have a good one!
Ashley