DIY – 45min fire pit

A few weeks back, Chris declared that we needed a fire pit.  We were planning on using stone pavers and then building up 1.5’ tall walls with bricks, in a circular formation.  When we headed to Home Depot, we realized this project was quickly going to add up.  So, instead we bought a shovel, Chris dug a hole and we filled it with wood.

And guess what?

It totally worked!  Although it was far from being classy. 

Yesterday, while Chris was at work, my dad had an idea to spiff up our fire pit area.  It couldn’t have been any easier!

(1 of 9)

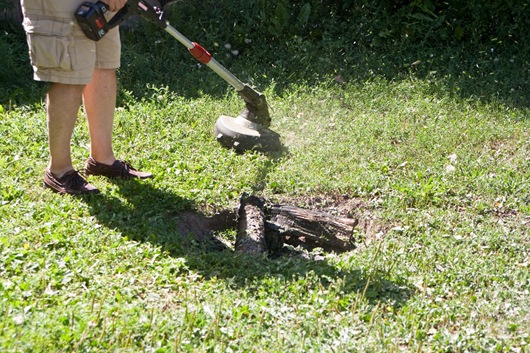
First, some weed whacking happened, to tame our backyard weed-grass.

(2 of 9)

My mom was a spectator, while my dad and I got to working.  This was the quickest home project I’ve ever completed.  And it made such a big difference!

(3 of 9)

(4 of 9)

DIY Fire Pit – follow at your own risk :)

Supplies:

  • firewood – free! check Craigslist for people selling cheap firewood or giving it away
  • cypress mulch – we used 6 bags which cost $4.95/ea
  • recycled weed fabric – 36” width– blocks weeds from coming through – found this at Lowe’s for $10
  • shovel
  • outdoor chairs – new or old, anything works!
  1. Dig a hole, large enough to hold fire wood. Ours is about 10” deep and 3’ wide.
  2. Mow or weed-whack the area where you are going to mulch, if needed.
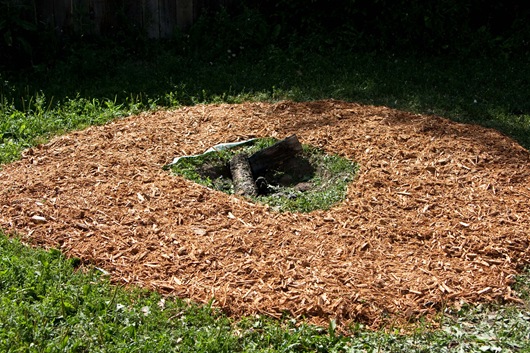
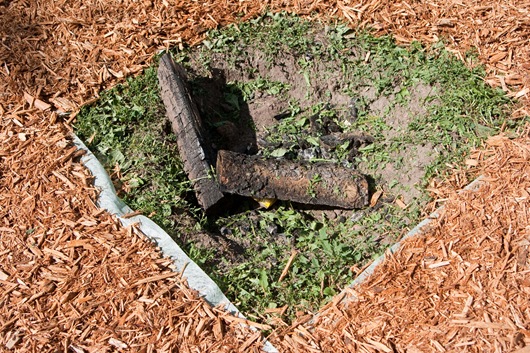
  3. Cut ~5’ strips of the weed fabric and lay them around the hole in a circular pattern.  Cut the outer edges to better make the  circular shape.  We cut 5 large pieces and filled in the corners with the spare that we cut off.
  4. Spread mulch overtop, in the circular pattern, making sure to cover all of the fabric.
  5. Walk on the mulch to tamp it down.
  6. Set up your chairs.
  7. Fill the hole with wood + kindle and light a match! Be careful when playing with fire!  I’m not liable. :)

We kept the material about 6” away from the edge of the hole.  Apologies for no exact step-by-step photos.  It was really simple though!

(5 of 9)

Ta-daaa

(6 of 9)

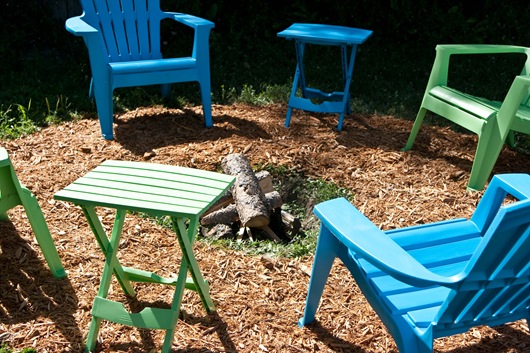
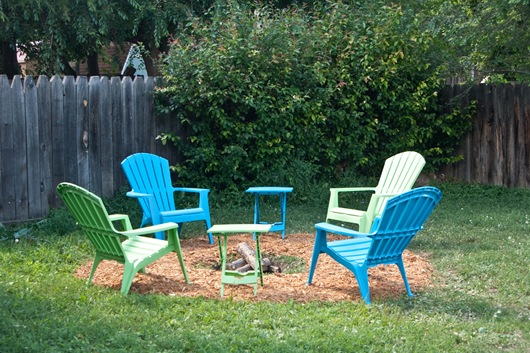
So much more legit!  And extremely affordable if you already have a set of chairs!

(7 of 9)

We got an extremely nice upgrade from our collapsible camp chairs, to these cute + colorful Adirondack chairs.  I’ve had my eyes on these for so long and just love them!

(8 of 9)

Much classier!

(9 of 9)

Now we just need an electric trimmer to work on that insane bush!

Have fun!!

Ashley

favorite summer smoothie

There is really nothing “summery” about this smoothie at all.

There are no berries, no peaches or nectarines, no watermelon and actually no fresh fruit at all.

What is summery about it, is how completely refreshing it is.  It’s like a milkshake, but it’s packed with nutrition, so we’ll call it a smoothie.

(1 of 9)

Thick, icy cold, and packed with some of my favorite ingredients.  Let’s call it a cacao-pnut-banana-cinna-smoothie.  No one ingredient stands out too much though.  It’s just a nice smoothie blend, with an energizing kick from the cacao beans!

(2 of 9)

Summer Cool-Down Smoothie

  • 1c milk of choice
  • 1.5 frozen bananas
  • 1-2c ice
  • 3T raw protein powder [opt]
  • 1T raw cacao beans
  • 1t unsweetened cocoa powder
  • 1-1.5T creamy pnut butter
  • 1t maca powder [opt]
  • 1/2t cinnamon
  • 1/2t vanilla extract
  1. Blend until smooth!

The ice really helps make this extra thick + refreshing!  I always receive questions about the glass straws I use.  They’re from the company Glass Dharma and I was given a set to review about a year ago.  I absolutely love them!

(3 of 9)

So what’s been going on with the house?

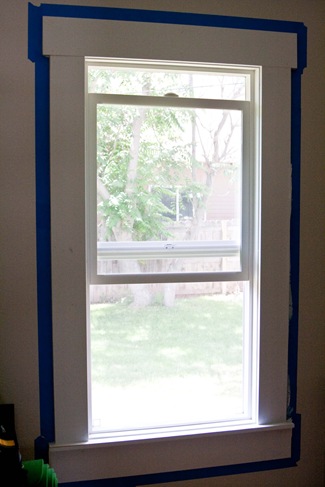
Lot’s of window taping, which took for-everrr.  The wood already looks painted, but don’t be fooled, it’s just pre-primed wood.  My uncle did all the trim work and we are in love with it.  He restored the trim to look like what was originally in the house.  I’m so glad we stuck with the old trim style.

(4 of 9)

All of the edges had to be primed, where the wood was cut.  Also, the nail gun holes had to be filled in with putty then sanded.  After all of that dried, I got to painting.  These are the before photos, and the “after” look almost the same.  Since the wood was white, it doesn’t look too different in a photo.  However, in person, it looks much more finished.  Super excited to have that done!

(5 of 9)

We’re so happy we have a small house [1015sqft] with awesome ventilation [14 windows!].  The sun never really blares into our house, but we still get a nice amount of natural light.  Even when it’s in the 90’s the house is typically at about 78.  With the 3 ceiling fans on, it’s extremely comfortable.

Even Kenna agrees.

(6 of 9)

What am I up to today?  The parents arrive tomorrow [!!!], so I’m trying to get a few house things done.

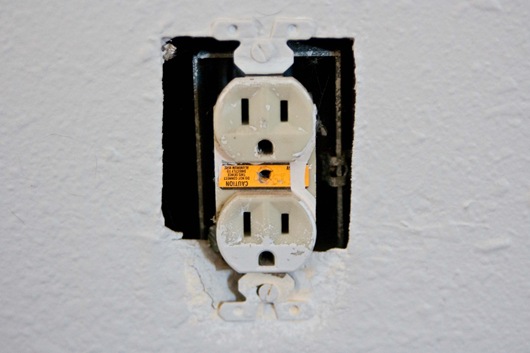
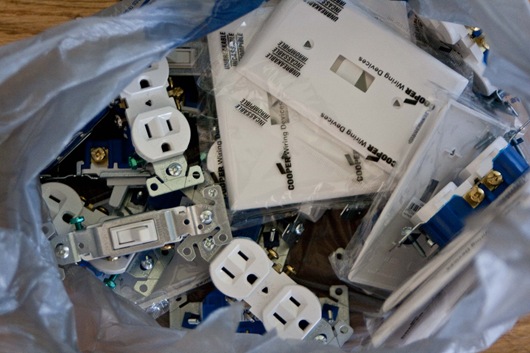
Today’s task:  replacing electrical outlets + light switches

(7 of 9)

It’s actually a super simple job, but it’s taking much longer than it should.  The walls are sort of crumbly where the outlets are, which makes screwing them into place difficult.  It’s also not easy getting the wires in + out of the box, but I’m managing to get it done!  Slowly…

(8 of 9)

Don’t worry, I turned off the breakers and Kenna is keeping a close eye on me.

(9 of 9)

Time for a smoothie, outlet replacing and finishing up that burger recipe!

Ashley